Oooh, catchy title! An even cooler post on what I’ve been doing in my learning project!
We’ve all had photos that aren’t quite what we wanted them to be. Maybe a mosquito landed on your face, or a bird in the background that we wish wasn’t there. Well, here’s how I can help!
This editing program has 3 different tools to help fix those problems…
1. Clone Brush
2. Scratch Remover
3. Object Remover
This post, I wanted to start simple, so I looked up some videos on how this works. I knew the basics would be similar to the beauty tool and how to get rid of pimples, where I demonstrated in a previous post.
So, I again, went to youtube to see what I can learn. I wanted to mainly know the difference between the 3 tools and what the differences are. I found this video that was super quick, and simple to understand. I played around with it a bit and tried it out myself.
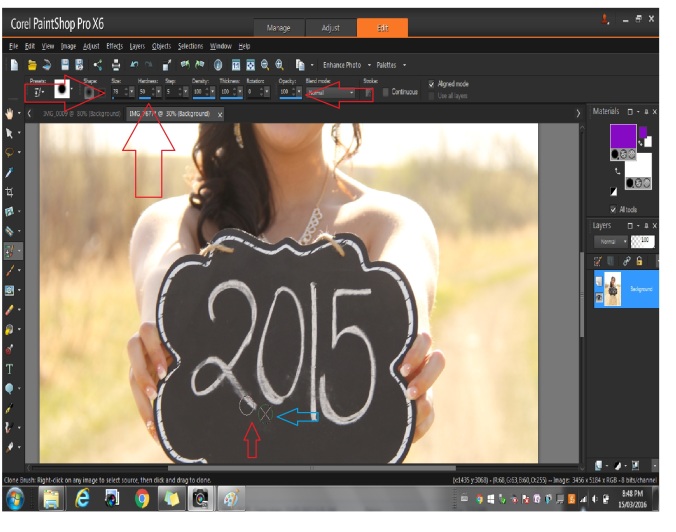
Up at the top are the settings that make this task possible. Playing around with the size, hardness and step is something that takes some time to get used to. Also, the hardness really affects how your final product will look.
The way this works [aside from the complicated settings] is that you ‘right click’ the area you like and ‘left click’ on the unwanted area.
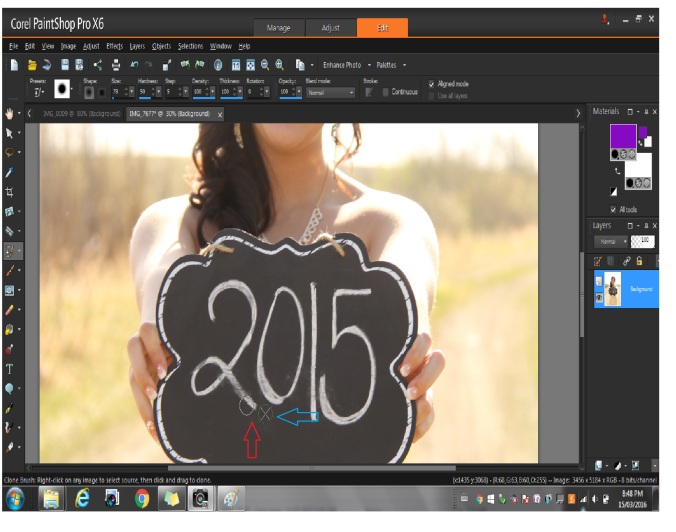
In this case, the blue arrow, is the selected area that I ‘right click’ and then I move the mouse over the white words or the red arrow, and it transfers the area.
Check out how it works! I made a video, but THIS TIME, I dropped the audio and put it in speed x4!! Helped out the technical glitches and the lag. Much easier to watch..
https://www.youtube.com/watch?v=uvgD5n9mxi4
PS: That music… 😉
Within the video, it shows me both changing the size of the brush and the hardness (which means how much of the selected area is going to show up on the new area)
It does take awhile, and the bigger the area selected, the slower it gets because it has to pick up all of the area and transfer it. The end product was pretty good…


A really cool trick to know!
I wanted to try this a little more. I may have gotten carried away here, but it was worth a try…


This definitely wasn’t as easy. Braces are small and working with a non-solid colour makes it a LOT harder, as well as being zoomed into my teenaged sister’s teeth….ew. Haha. There’s a reason I’m not a dentist!
As you can see, I gave up on the outside edges of her teeth. I got frustrated at how hard it was and how the colors weren’t blending. I think I will try again on another photo.
In the end, I think I can say that I nailed the basics of this which is something that’s pretty new to me. I was originally going to tackle B&W colours next, but this actually came up in a client wanting some work done. I’ll show you that next! It’s a big job!

Pingback: Making You Disappear [Pt.2] | kayla onufreychuk